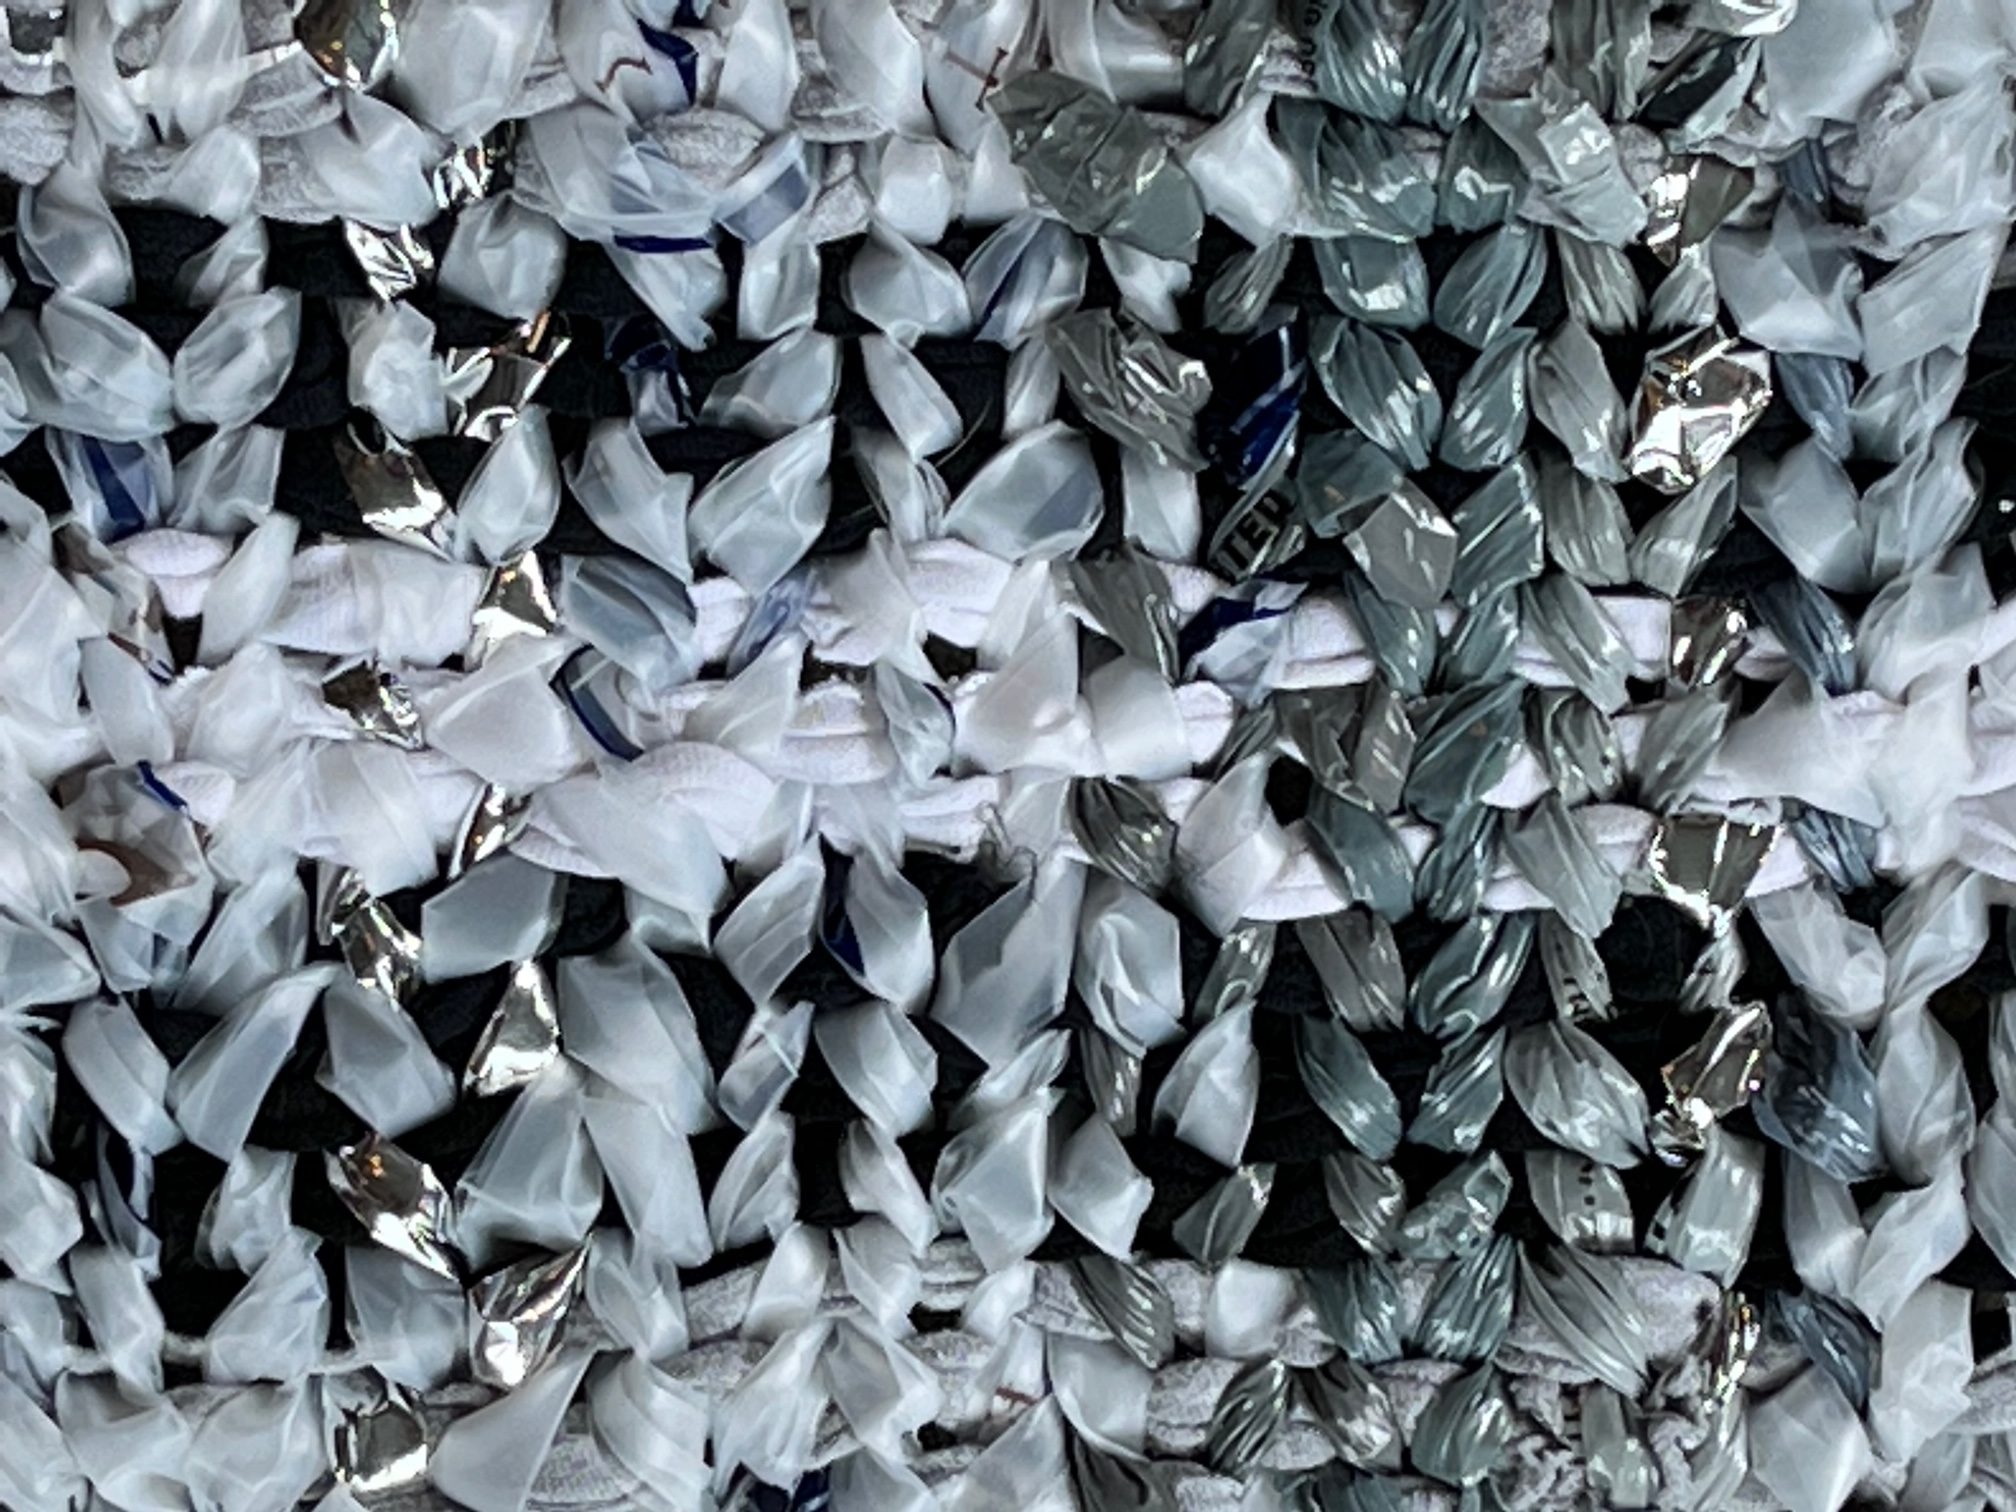
It actually all started with fabric, not plastic
My first foray into recycled art began with repurposing t-shirts. When our school system went to remote learning in March 2020, I didn’t see any way I could do a clay unit. I think it is important for an overview to art class to include 3D art, so I came up with a choice chart of different types of 3D art that students could do with materials around their homes. Repurposing t-shirts was a popular choice and the results were quite good.
When we continued teaching remotely in the 2020/2021 school year, I decided to turn the t-shirt “choice” into a full unit. Over the summer I collected hundreds of t-shirts to distribute in supply packets for students. I also researched the issue of textile waste. The problem is different than that of plastic waste, but still significant. Although I have branched into using plastic more than fabric, the repurposing of either has important environmental benefits.
Last week I mentioned I purchased t-shirts from thredUP. These shirts are “rescues” because they couldn’t be sold on the website. I got 25 in an array of colors. For the first time with my rugs, I decided to create a pattern with both the warp and the weft. This approach also let me experiment with plastics I hadn’t used on the nail loom before.
Lots of subtle differences
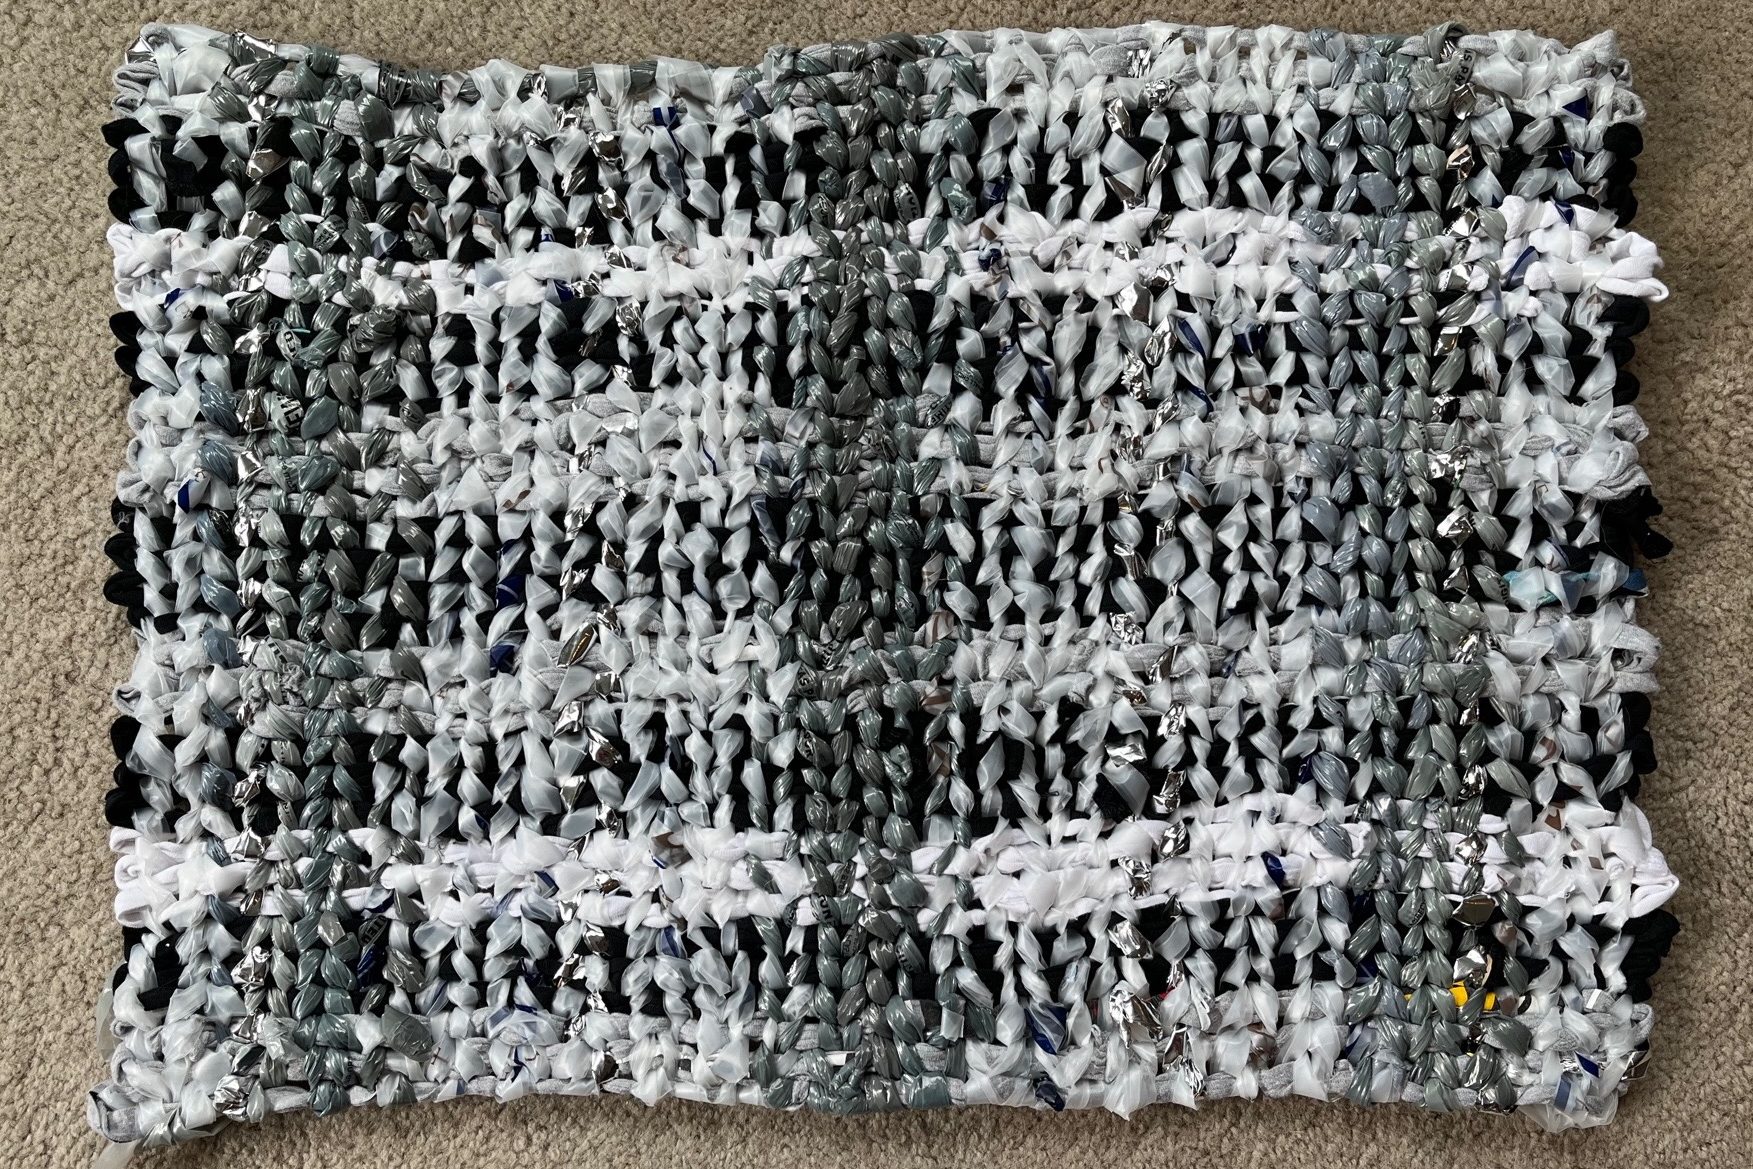
This piece represents several “firsts” for me.
Materials
I wanted to include more color in this piece, so decided to use newspaper bags. These bags are vertical grey stripes in the image above. I wanted to work with long pieces, so didn’t cut the bags into loops because those would be very short. So I had for figure out a way to connect them. I experimented with several different techniques, but in the end used the approach I have used in past. It has been some time since I posted how to do that, so I’ve reposted the step by step directions below.
I also used silver food bags. These are typically used for crackers or chips. They can not be recycled even through places that take plastic film, so I’ve been anxious to come up with a way to use them (other than on cards). It is not easy plastic to work with, but I think this is a good application. Even though some of the bags were small, I did cut these in loops as that seemed the best way to connect them.
Pattern
For both the warp and the weft, there is a line of symmetry in the middle of the work. For the warp (horizontal in the above image), there is a black stripe in the middle and grey, black and white stripes move out in either direction. I have done this before with the other warps. The pattern is fairly visible even after the weaving.
For the weft, the pattern is a little harder to see. Again, it starts from the center, this time with a grey stripe. The pattern was largely driven on the amount of grey newspaper bags I had available. The loom weaving uses a lot of newspaper bags! There is some variation in color as all grey bags are not the same. I had a good number of grey, but very limited silver, so I had to balance those colors with the white.
Process
Although not visible from the outcome, one of the biggest “firsts” was this time I started in the middle of the loom and worked toward both ends. Having the metal support rods on the loom makes this approach feasible. I marked where the middle was and started with my grey bags there. In order to keep the weft from sliding off the warp, you have to line up the weft slightly differently for each side. I figured out the alignment and started two different pieces of weft, each moving toward opposite sides.
Then I worked two or three rows at a time, flipping the loom over as I went in different directions. I had some difficulty keeping the warp lined up properly but eventually figured out how to successfully work in two directions.
Lots of possibilities
This rug used about three t-shirts. I have 22 more shirts to go from my thredUP purchase, which should produce at least seven more rugs. The rugs take a long time to make. I typically work on one for about a week. But they use a lot of plastic, as well as fabric so I think are well worth the time invested. I haven’t tried selling any yet, but I really like the outcome so I think others will, too. If I sell two or three I will cover the cost of rescuing the shirts.
The links for how to do this type of weaving and how to make the loom are in my post called “You have to break a few pots.” But here they are again: weaving plastic on a nail loom and how to video for making the loom.
And finally, here is a repost of how to change colors. I hope you find them helpful.
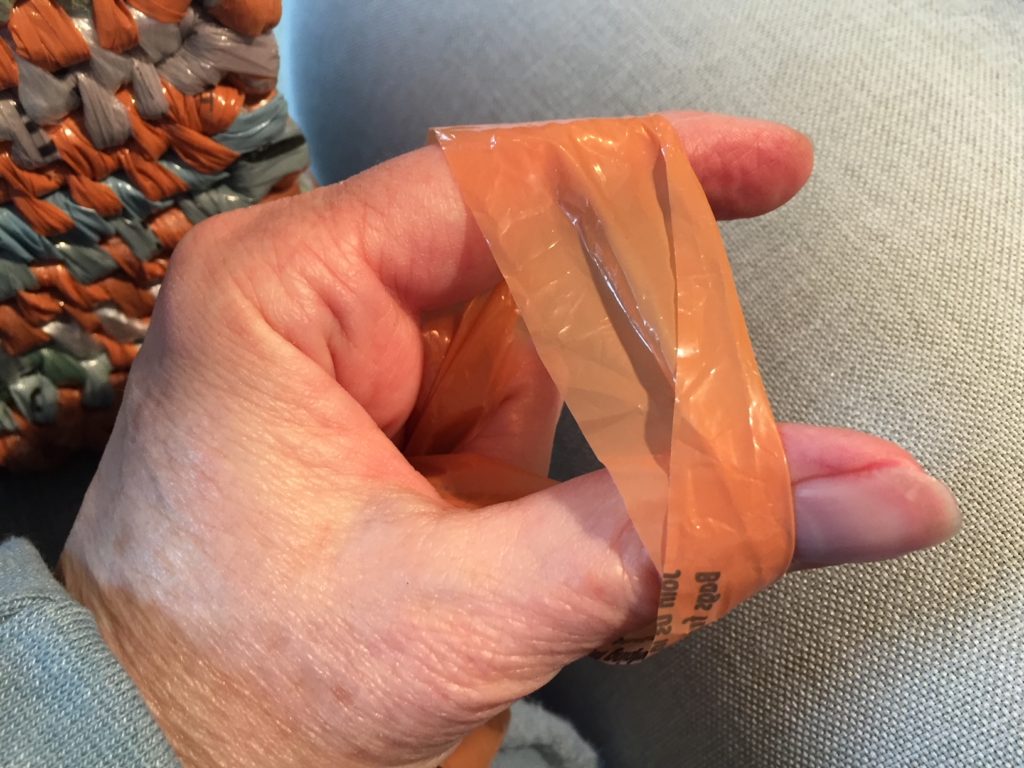
Step by step color change
Below are step by step illustrations of how to change color. In this example I was working with light blue and wanted to change to terra cotta. Because I wasn’t at the “end of the loop” of the blue, I had to develop a different way to add a new piece of “plarn.” Then I had to hide the old one, which I did by pinching the blue end with the core and wrapping the terra cotta piece around it. When working on the loom, the old piece of plarn can be pulled to the back of the weaving and hidden with the warp.
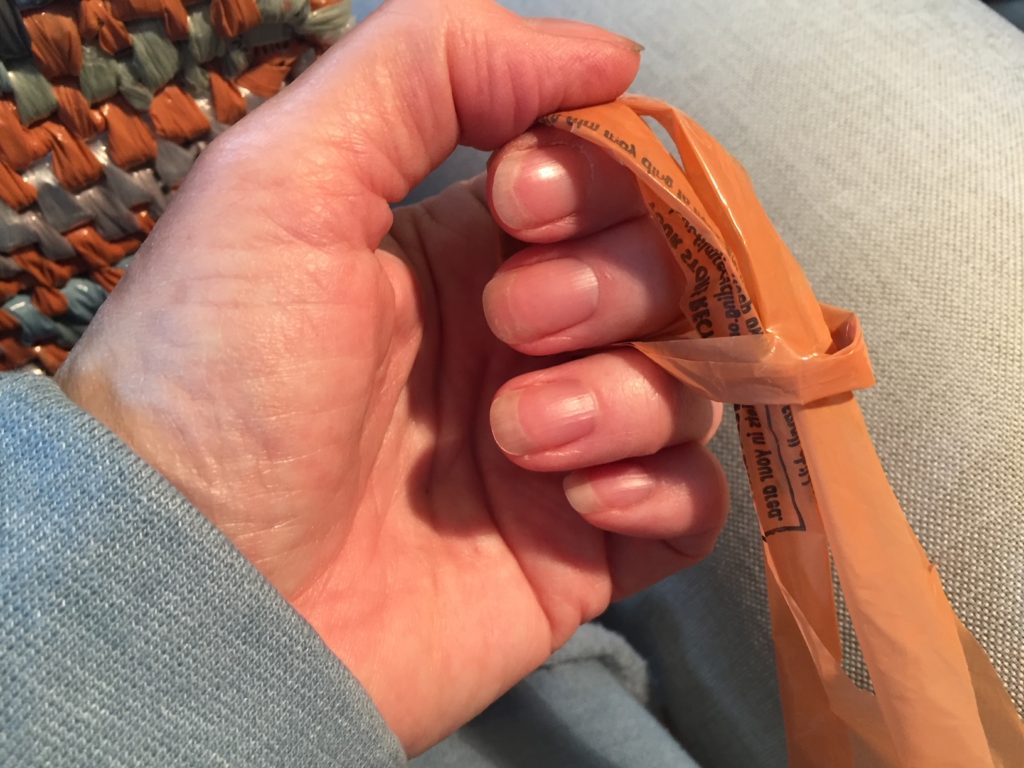
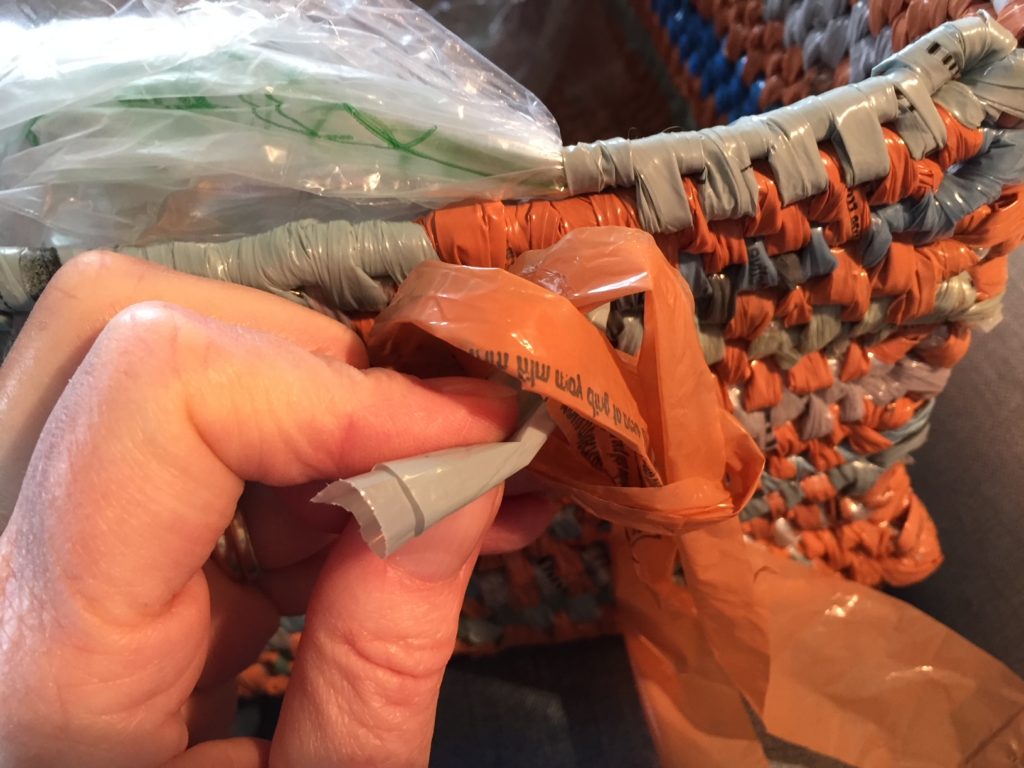
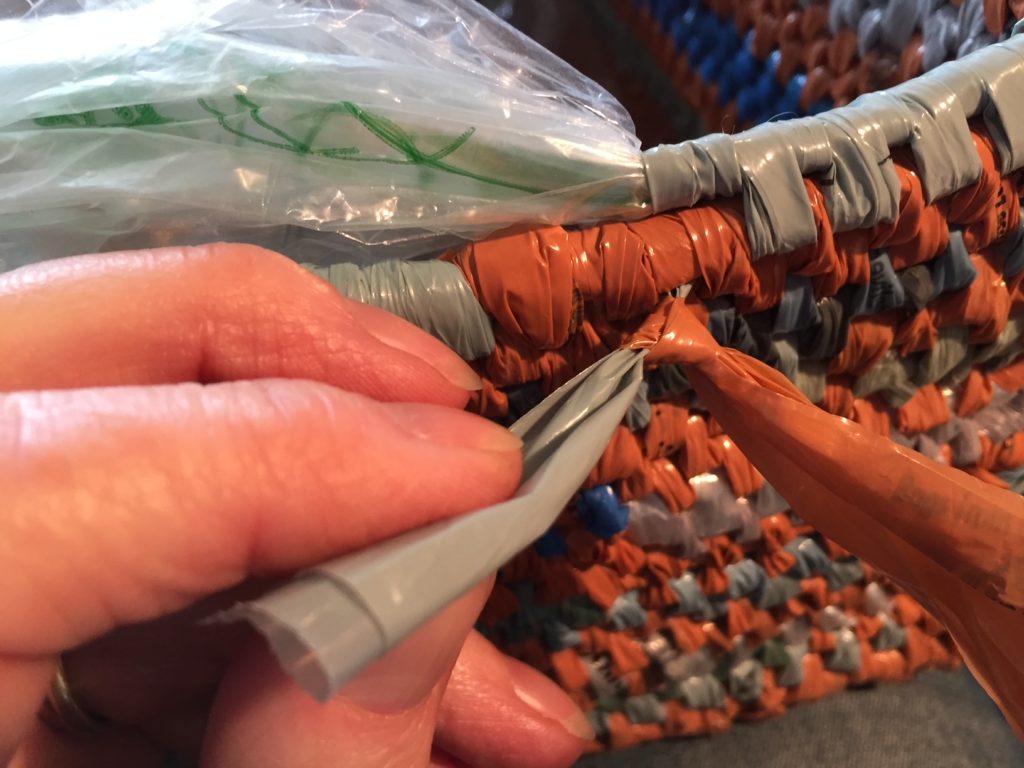
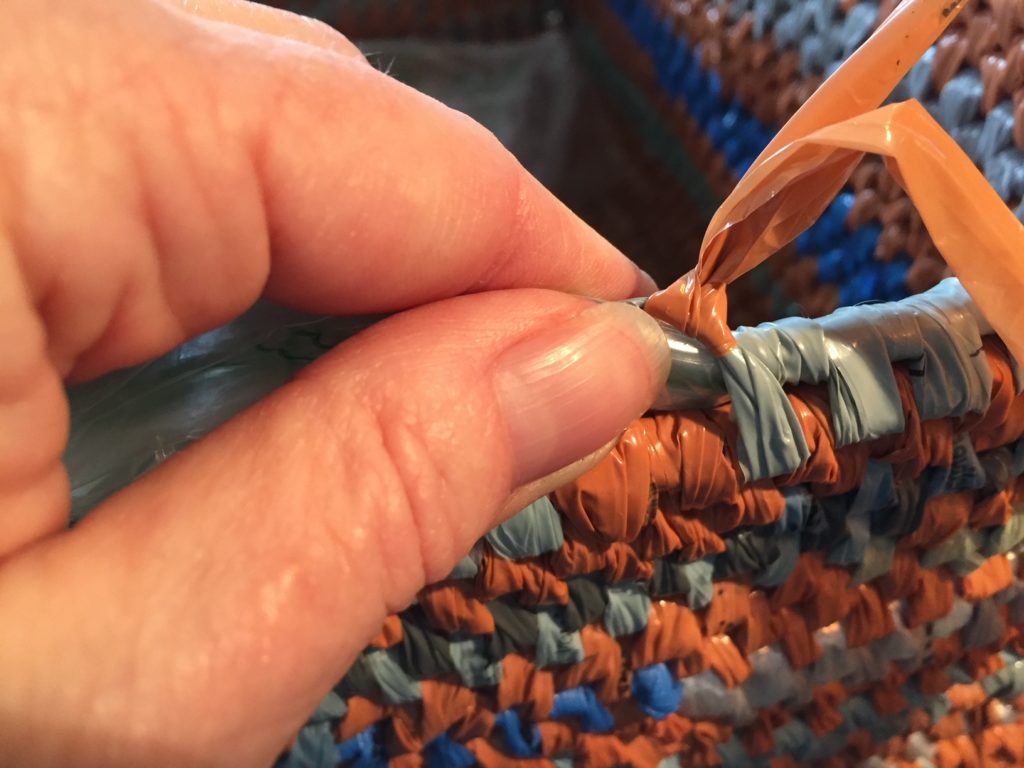
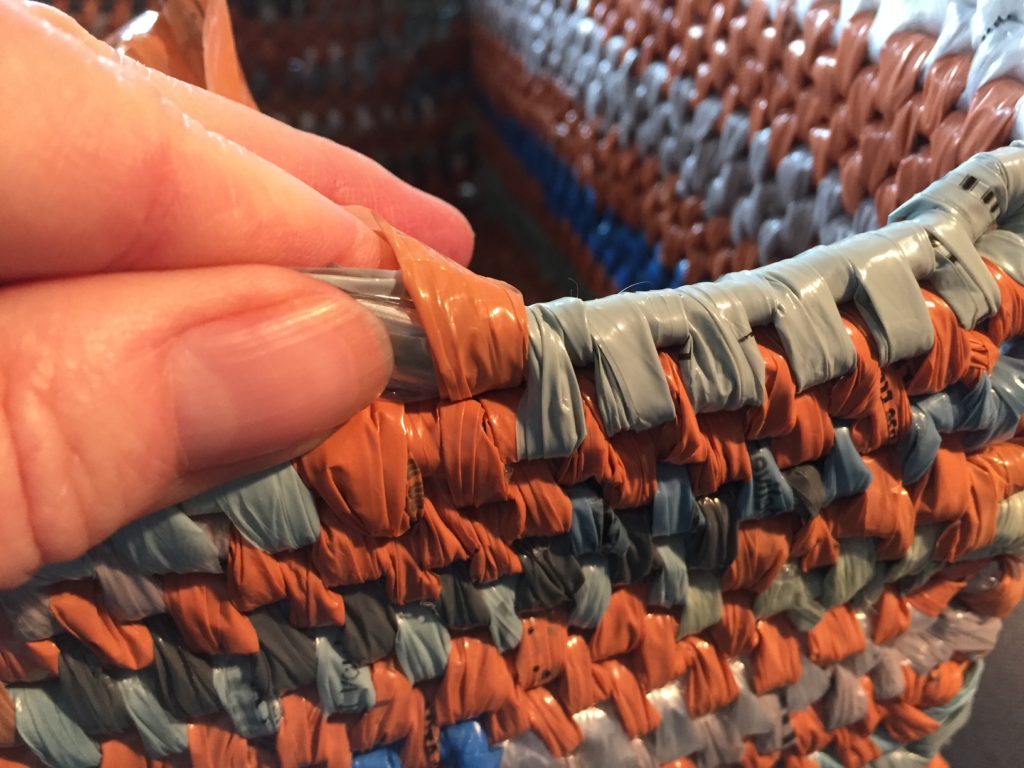
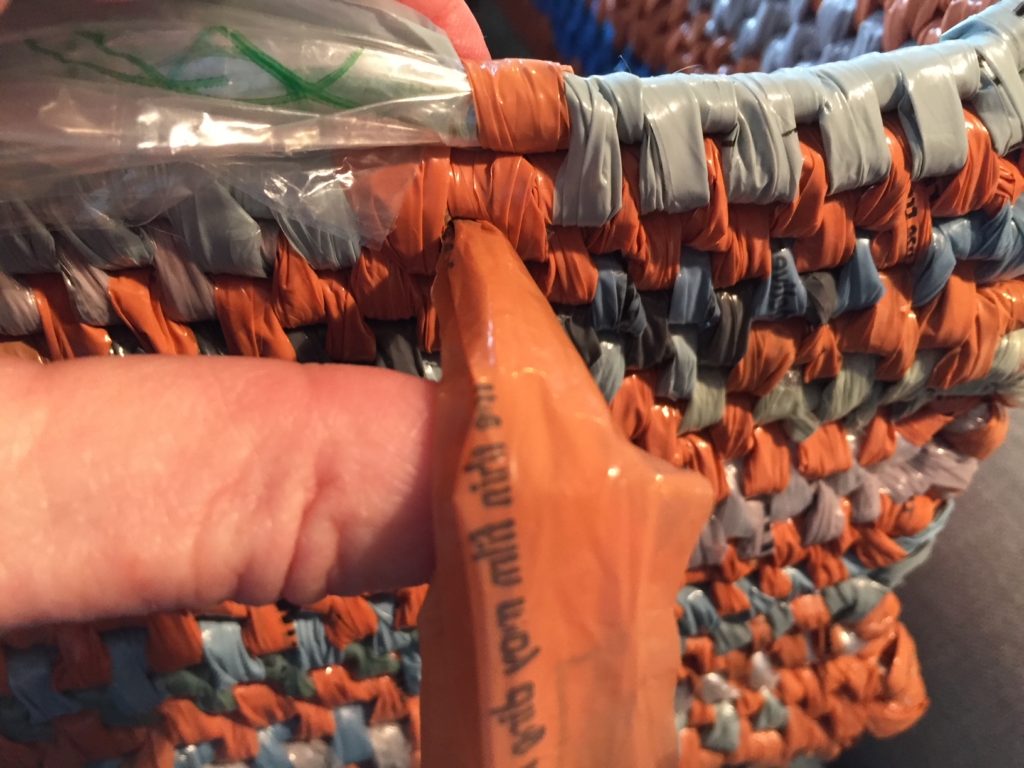
Another nice feature of this technique of adding one piece of “plarn” to the next is that I don’t need to always have the pieces as loops. Sometimes the plastic that I’m using isn’t a bag so I can’t easily make loops out of it. Figuring out this technique has made it possible for me to expand the types of plastics I can use.
